Sometimes there may be a need to change the look of procedurally generated features. For this we can use the free and open source geographic information system QGIS. Lets do some changes to a lake border.
Download shapefiles archive for any planet and unpack its content (on Windows you should use 7-Zip program or such). The ESRI shapefile is a database and consists of a few files.
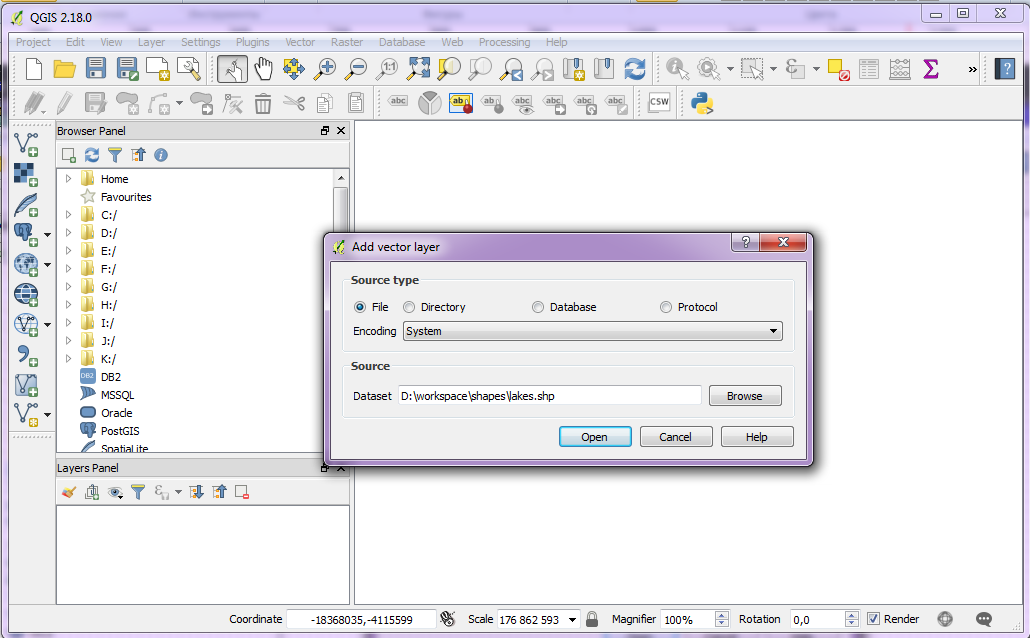
For the first step, click on the “Add Vector Layer” button on the left pannel. On the opened dialog in the “Source type” section select “File” and browse to the lakes.shp file.
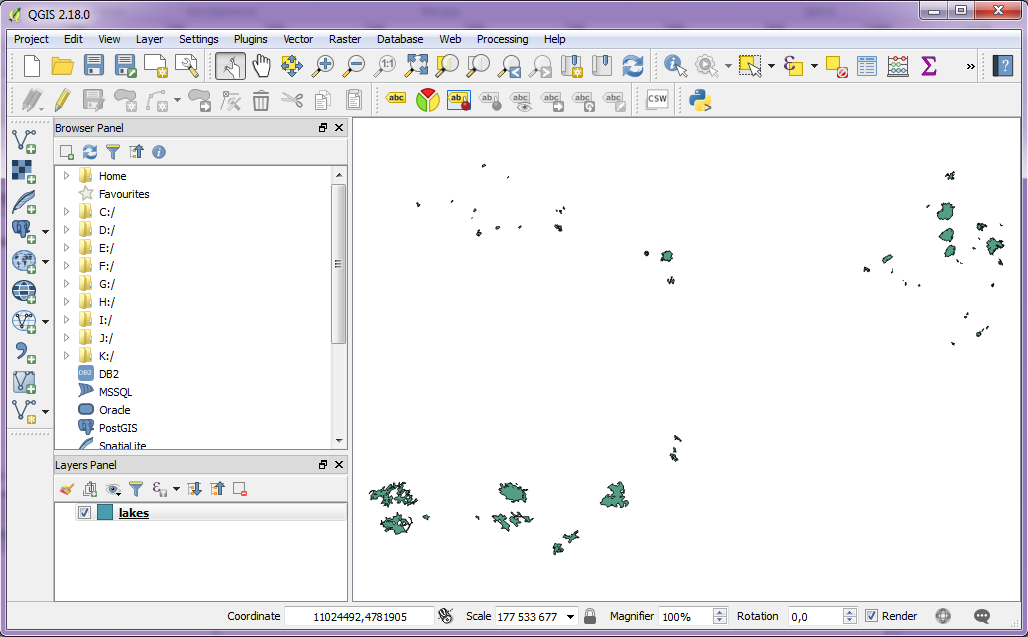
Choose “Open”. Now you can see lake polygons in the work area of the QGIS window. The “Layer Panel” containes a line with name “lakes”. It is a corresponding layer for data of the lakes shapefile. (You will see other lakes configuration depending on choosen planet.)
Next, we want to remove all lakes except one that we are interested in. Click with the right button on the “lakes” line in “Layer Panel” for the context menu to appear. Choose “Filter..”.

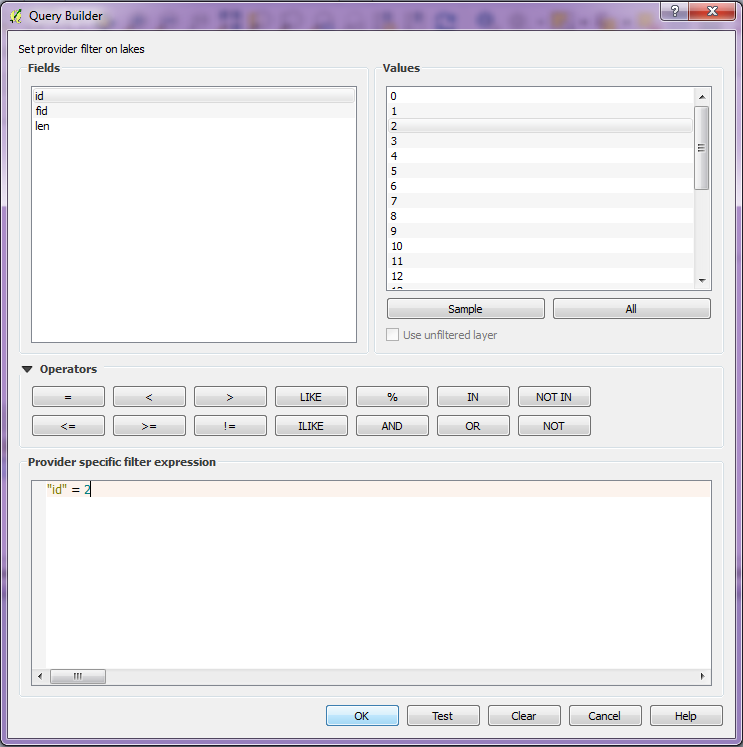
The opened window is named “Query Builder”. The “Fields” section contains fields from shapefile database, double-click on “id” here. Then click “Sample” button, this will read values of “id” field from the database and display them in the “Values” section. In the “Operators” section choose “=” and then type a valid lake Id (now we type 2). The “Provider specific filter expression” section must contain “id”=2 string. (or your lake Id instead of 2)
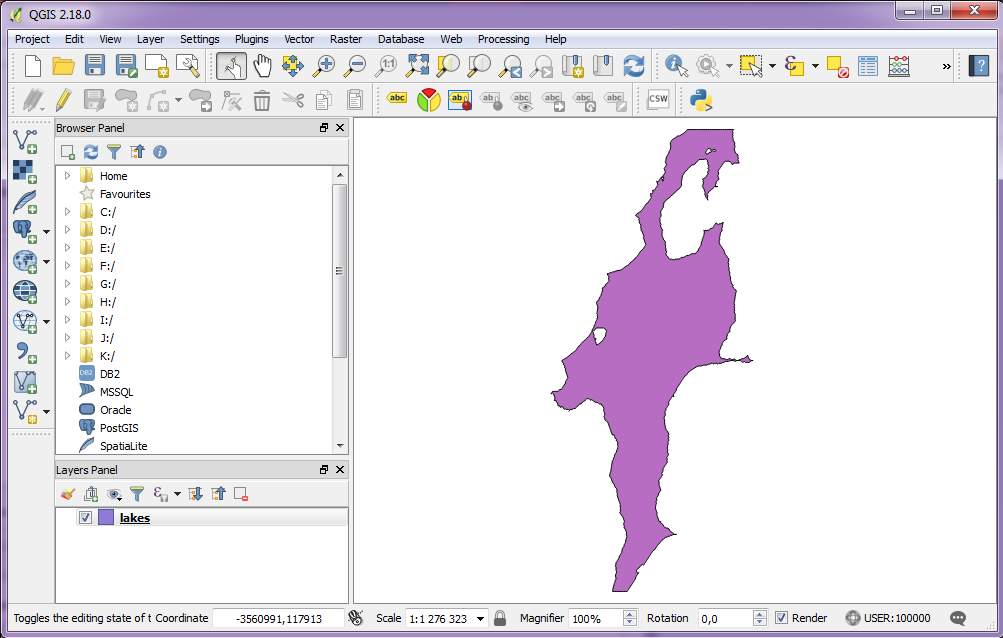
Press “OK”. Now there is only one lake with id=2 in the work area. If you don’t see the lake try use “Zoom map to the selected rows” in the Attribute Table (reachable through the context menu of a layer).
This lake have three obvious flaws: linear cuts on the bottom and on the top and too narrow channel from the main lake body to its small eastern part. Lets correct them. Activate edit mode by clicking on the “Toggle Editing” button on the window top panel. You will see many red crosses along the lake border.
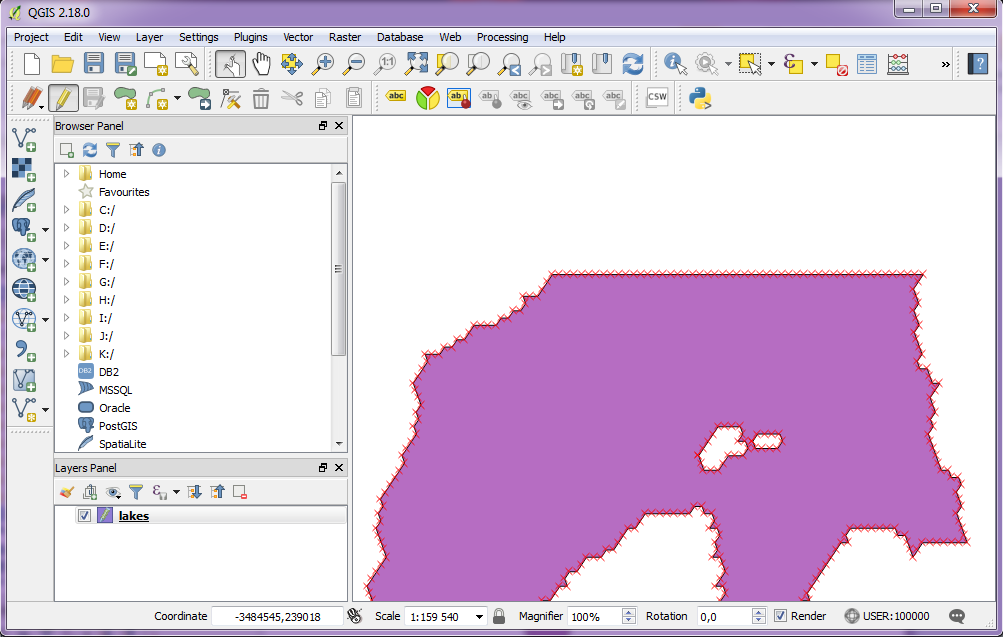
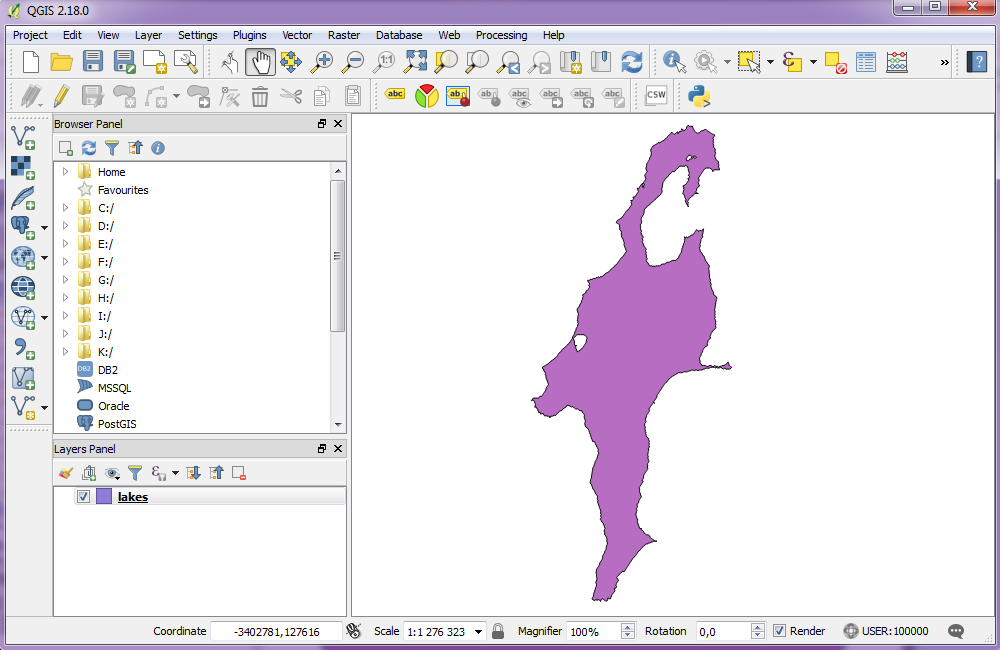
Use “Node Tool” which is now active to drag nodes on the lake border to the positions you want. After corrections are made, click on the “Save Layer Edits” button and deactivate edit mode by clicking on the “Toggle Editing” button again. Changes of the northen border of the lake are shown on next picture.

The entire lake with my changes is on the last picture.
Try to change the lake color for your exercise.
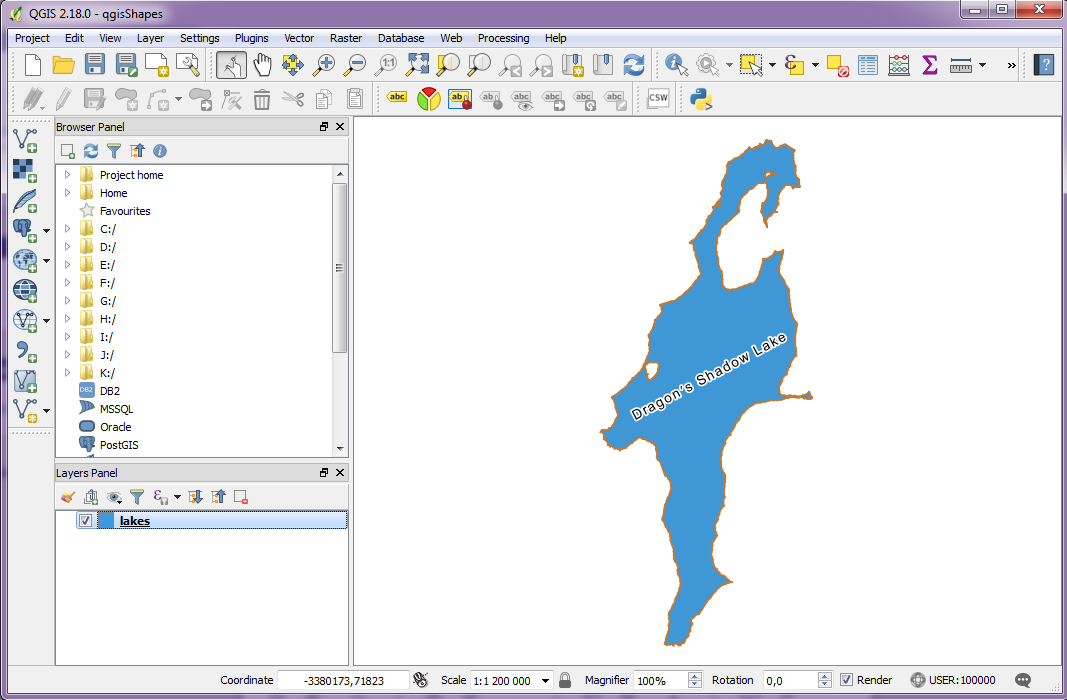
If you are happy with the changes, you can save the lakes layer to a new shapefile or replace the former one.